Hello,
First at all I want to thank Infratec and SMaag for the software integration in PB.
see here :
viewtopic.php?t=85050 
and here :
viewtopic.php?t=85253
I'm working on my hardware RS485 Converter module:
-------------------------------------------------------------------------------------------------------------------------------------
- What do I need:
-------------------------------------------------------------------------------------------------------------------------------------
1 ) - As the industry uses a power supply of 24VDC, power inputs from 12...30 VDC, Output 5VDC / 2...5Amp
2 ) - Connection with RS485 BUS.
- Programmable addresses for the RS485 BUS.
3 ) - Understand MODBUS protocol and edit/answer the commands.
4 ) - Development for multiple uses
RS485 ->
Discreet I/O
Analog I/O
Other communications - Second RS485 (use as extender/repeater)
- CAN Bus
- RS232 (serial)
- UART
- SPI
- I2C
- ... ?
5 ) - Level converter for 3.2, 5.0 or 24 (opto isolation) volt I/O uses.
6 ) - A assembling box with connections ...
7 ) - Stand alone for GERBER control of my (future) 3 axis CNC machine.
8 ) - The extensions ...
-------------------------------------------------------------------------------------------------------------------------------------
- The results till now: This are pre pre PCB prototype examples (only for positioning the parts)
-------------------------------------------------------------------------------------------------------------------------------------
1 ) POWER SUPPLY module: see Image1
- Input voltages form 5...30VDC / Currents 3.2/5.0 Amp.
- For now, not galvanic isolated (price) ... and the size is important for my assembling box.
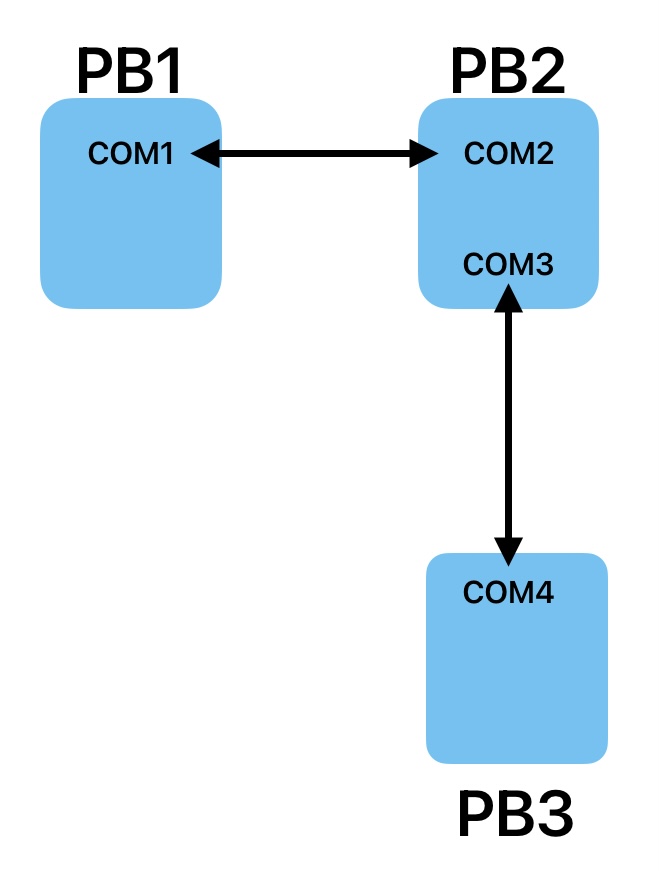
2 ) CONNECTION WITH RS485 BUS: see Image2 (bottom module) and Image5 keypad
- Can even be used as a repeater for extension to 32+ nodes.
- Addresses are programmable via little keypad and small color lcd display (240x240 px)
- LCD can be used as a small user status update viewer.
3 ) MODBUS PROTOCOL: see Image4
- Must be programmed via Teensy 3.2 or Teensy 4.0 MPU module.
4 ) MULTIPLE I/O USE: see Image2
- Via the interchangeable I/O module, I can install CAN, RS232, RS485, UART, ... converters to the Teensy 3.2 and Teensy 4.0 MPU module.
- If I want to use more modules on one BUS I need to remove the 120 Ohm resistor on the RS485 converters.
5 ) LEVEL CONVERTERS: see Image3
- Level converter from 3.3 to 5.0 volt I/O, Stepper controllers,
- Opto module for the 24 VDC I/O
6 ) THE ASSEMBLING BOX: see Image6
- I chose a small IP65 box (do not need it for now), with transparent front.
- So I can follow the status on the small LCD.
7 ) STAND ALONE: see Image4
- For the GERBER controller, the Teensy 4.0 works on a 600MHz clock and have 32 and 64 bits hardware floating point on board.
- To execute circular COS, SIN, TAN controls it is much faster.
- If I use the extra audio board, I can use an SD card memory extension (not tested).
8 ) EXTENSIONS:
- ...
Love to receive some remarks ...
Greetings
Marc,


- every professional was once an amateur - greetings from Pajottenland - Belgium -
PS: sorry for my english I speak flemish ...


